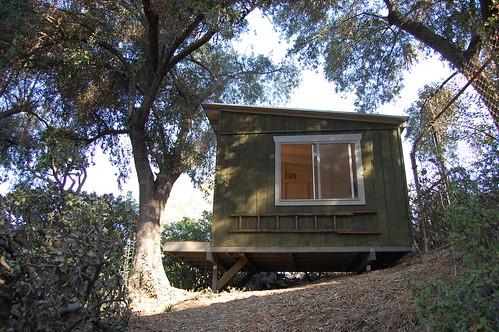
 We have been working on a secret project over the past several weekends here at Camp Ramshackle - it's the Ramshackle Shack. I have been wanting a painting studio for years but with the arrival of the kids, work, etc. it just didn’t seem like a justified expense until now. At first we thought about renting a studio but at a cost of at least $500/mo. here in L.A., that didn’t make sense. We were able to build this shack style studio for about half the annual cost of renting (+ about 10 full days of labor spread over 2 months for me and Phoenix).
The design is loosely based on the West Virginia shack that Mark posted about on D&R a while back (although admittedly not as cool). I am really pleased with the outcome, none the less. There are a few details to complete still, and I need to get good and moved in. A huge thanks to our good friend Phoenix, without whom the shack could not have been built.

The shot above is the front taken from 6 feet up in the Toyon in front of it.
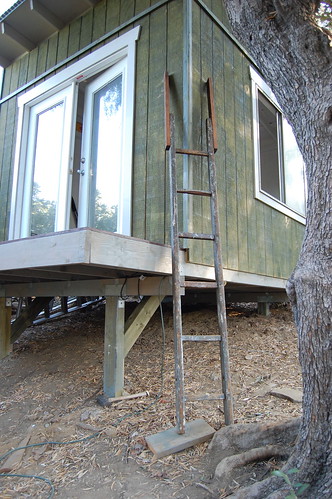
 The ladder hangs on the side when not in use. Eventually we will add a more permanent entry but for now this keeps those not tall enough to reach the ladder (our 4 and 1 year old) from gaining unsupervised entry.
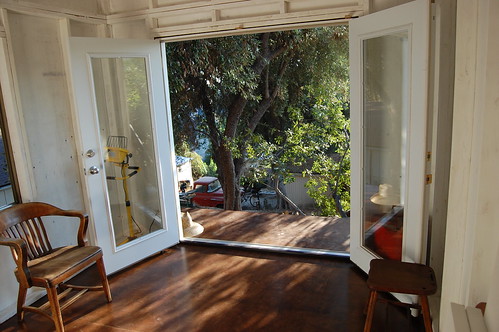
 The inside is still coming together. The floor is birch plywood with walnut stain. That's the roof of our house in the background, out the window.
 This is the view from inside looking out the front doors. The slope puts the height of the front porch at over 5 feet so it feels kind of like a tree house.
You can see more pictures at our Flickr account.


Shacktacular! Nice piece of work! Needs to be christened with Champagne.
ReplyDeleteCan you tell me more about how you installed your floor? I'm thinking of doing something similar for a spare bedroom (can't afford hardwood right now but don't want carpet or laminate) and would like to know what method you used to install it. Did you just drill and screw it to the frame? It looks really nice.
ReplyDeleteHi Scmntngirl,
ReplyDeleteThis floor is just 3/4 inch birch plywood with a walnut stain and a satin varnish, nailed to the floor joists with finish nails.
Usually in a house you already have something over the floor joists (the sub floor). If I were doing this in a house on top of a sub floor I think I would choose a thinner piece of plywood - probably 1/4 inch thick- and nail it down. With this floor I set the finish nails in a bit and filled the cavities with a little bit of wood putty. Then I sanded it with an orbital sander. It didn't need much sanding, just a bit to take the edges off the seams where the pieces of plywood came together and to smooth out the putty.
Good luck with your floor. If you end up trying this we'd love to hear how it comes out.
I can see that you are an expert at your field! I am launching a
ReplyDeletewebsite soon, and your information will be very useful for me
Thanks for all your help and wishing you all the success.